
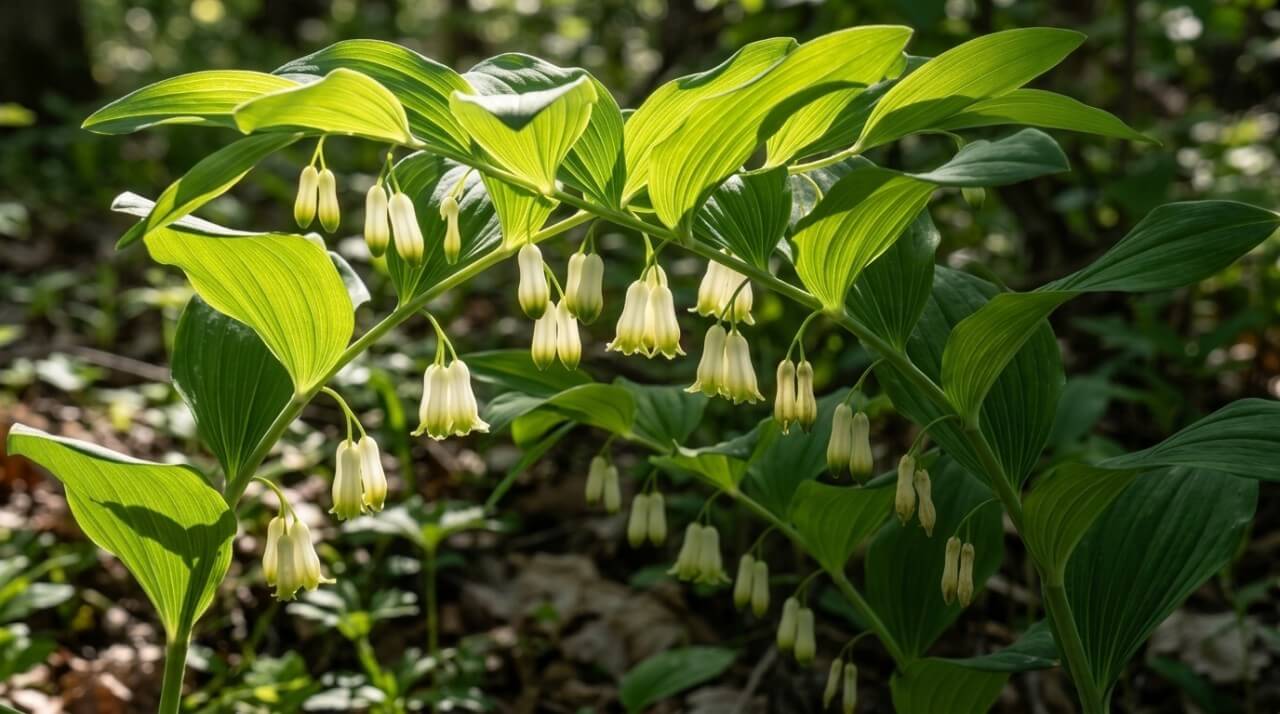
Solomon’s seal looks more delicate than its growing habits might suggest.
Arching stems rise in spring, curve gracefully as they lengthen, and carry small white bells beneath the leaves. By autumn, many varieties develop yellow foliage before disappearing underground for winter.
Depending on species and cultivar, plants can stay fairly compact or reach several feet tall.
Its woodland origins explain most of what Solomon’s seal wants in a garden. Cool shade suits it. Soil with plenty of organic matter helps.
Moisture is especially important while young, and an undisturbed planting spot gives the rhizomes time to settle.
Give Solomon’s seal those conditions, and it can live for decades, gradually developing into a colony with relatively little attention.
Aim for Dappled Shade, Not Total Darkness
This guide from the channel “Gardening in my yard” shows how to care for and transplant Solomon’s seal in a shade garden, covering the best time to move plants, how to dig them up without damaging roots, and soil preparation tips.
Dappled shade is close to ideal for Solomon’s seal.
Morning sun filtering through branches works particularly well when stronger afternoon light is blocked. Partial shade gives foliage enough light for healthy growth without exposing it to intense heat that can dry or scorch the leaves.
Full shade is possible, although plants growing in very dark conditions can become thinner and more stretched as stems reach toward available light.
Strong midday or afternoon sun causes a different problem. Foliage can lose moisture quickly, and leaf edges may scorch during hot weather.
Places beneath deciduous trees are especially suitable. Woodland borders also work well, along with east-facing and north-facing beds where summer sun is less intense.
Cold is rarely the main concern.
Solomon’s seal can grow across USDA Zones 3 to 9 and generally handles lower temperatures better than prolonged heat.
Local conditions still matter across such a broad range. Cooler gardens may tolerate slightly more sun, while hotter regions usually benefit more strongly from afternoon protection.
Give the Arching Stems Room to Show Off
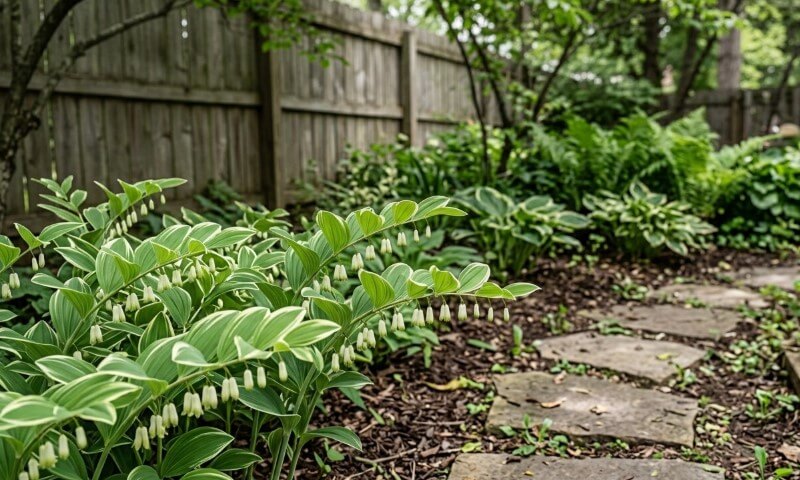
Much of Solomon’s seal’s character comes through its shape.
Young shoots initially rise upright. As stems mature, they curve outward while flowers hang underneath the foliage. Those bells can easily disappear visually when the plant is squeezed behind taller perennials.
Placement makes a noticeable difference.
A shaded path gives you a good view of the arching stems. Open ground beneath a tree allows them space to lean outward. Planting Solomon’s seal behind shorter woodland perennials can also keep its structure visible.
Ferns make good companions. Hostas, hellebores, and other low-growing shade plants work well too.
Broad hosta leaves or finely divided fern fronds provide contrast against the cleaner lines of Solomon’s seal.
Fresh shoots emerge through underground rhizomes and can be damaged by repeated foot traffic. A position beside a path is usually fine, but planting directly where people regularly walk is best avoided.
Use Variegated Solomon’s Seal to Brighten Shade
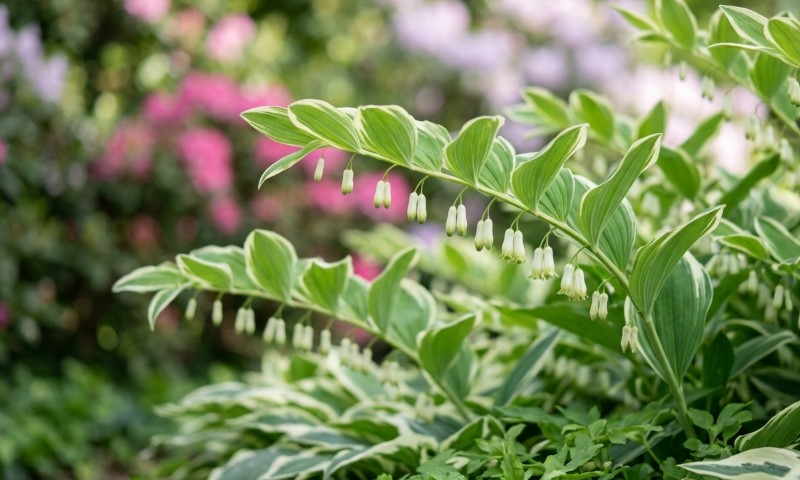
Dark garden corners can easily become visually flat when every plant carries similar green foliage.
Variegated Solomon’s seal helps break that up.
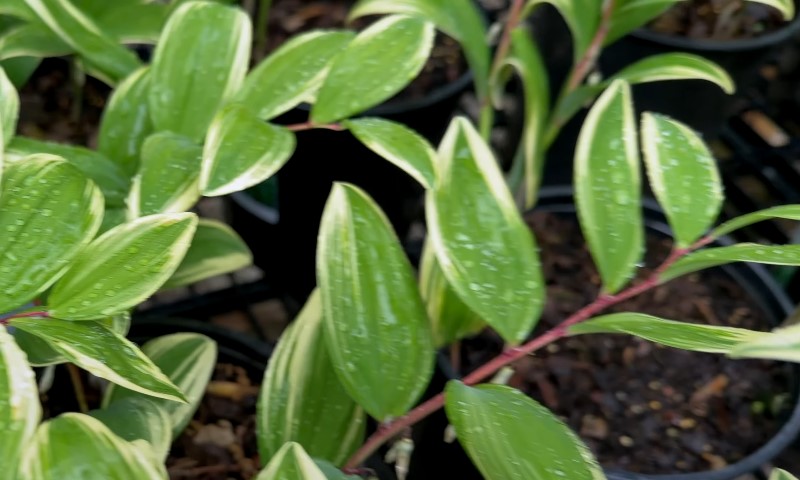
Polygonatum odoratum ‘Variegatum’ has green leaves edged in cream, along with pale hanging flowers in spring. Mature plants can reach roughly 3 to 4 feet tall, giving them enough presence to brighten a shaded bed without needing strong sunlight.
Place variegated Solomon’s seal beside darker foliage and those cream margins become much easier to notice. You can be sure that green hostas work well nearby.
Ferns are another good option, while darker shrubs can provide a useful background where filtered light catches the pale leaf edges.
Other cream-edged forms, including ‘Striatum’, can create a similar effect.
Extra afternoon sun is not needed to make variegated foliage more visible. Strong heat can damage the leaves, so filtered light is still the safer choice.
Moist, Organic Soil Helps Solomon’s Seal Settle In
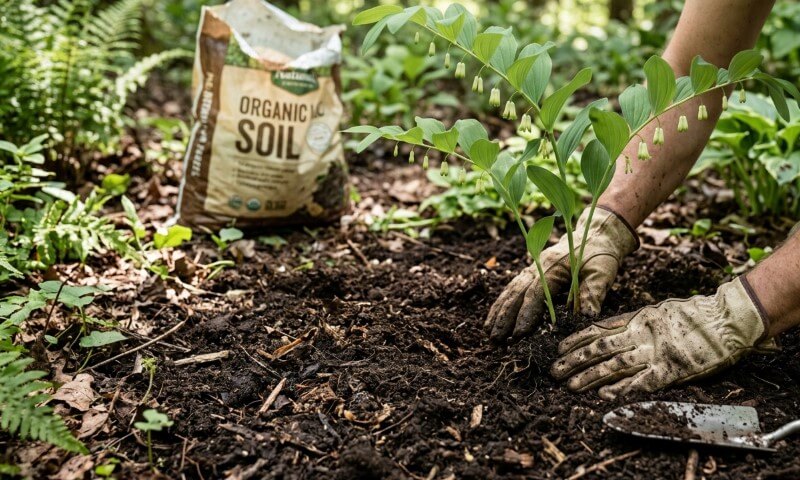
Woodland soil provides a useful model for planting Solomon’s seal.
Good soil holds moisture while still allowing excess water to drain. Plenty of decomposed organic material helps create that balance, while loose soil gives rhizomes room to expand.
Compost is useful when preparing a bed. Leaf mold works well too. Fallen leaves can also be left around established plants as natural mulch, provided they are not packed into a thick, wet layer over emerging shoots.
Organic material helps reduce moisture loss and gradually improves soil structure. It also creates conditions similar to those found beneath deciduous woodland trees.
Consistent moisture matters most during establishment.
Recently planted Solomon’s seal should not repeatedly dry out during its first growing seasons. Water thoroughly enough to moisten the root area, then allow excess water to drain.
Constantly saturated soil is not ideal either.
Moist, well-drained ground gives Solomon’s seal a much better start than soil that stays waterlogged.
It Can Handle Dry Shade Once Established
View this post on Instagram
Dry shade is one of the harder conditions to plant successfully.
Mature trees create much of that difficulty. Their canopies reduce sunlight, while large root systems compete heavily for available moisture. Soil beneath them can therefore be much drier than its shaded appearance suggests.
Established Solomon’s seal copes with that combination surprisingly well.
Short dry periods are usually manageable once plants have developed a strong root system. Mature colonies can also tolerate areas close to competing tree roots, making Solomon’s seal useful beneath established deciduous trees.
Young plants need more attention.
Recently planted specimens may droop or wither during a warm first season when moisture becomes limited. Regular watering gives roots time to establish, and plants usually become much tougher after settling in.
Dry-soil tolerance develops with age rather than appearing immediately after planting.
Prolonged drought can still justify extra watering, even for established plants. Mulching with decomposed leaves can reduce moisture loss while gradually improving the soil around the rhizomes.
Leave Space for Its Slow Underground Spread
Solomon’s seal gradually expands through fleshy underground rhizomes.
New stems emerge beside older ones, slowly turning a single plant into a larger clump and eventually a colony.
Growth is generally slow, which makes that spread fairly easy to manage.
Established plantings can become dense over many years, but Solomon’s seal is not usually considered invasive.
Rhizomes can be divided or removed when a clump becomes larger than intended. Division also provides a simple way to establish Solomon’s seal elsewhere in the garden.
Allowing some open ground around a new plant is still worthwhile.
Extra room gives new shoots space to emerge naturally and allows the arching habit to develop without immediately becoming tangled with neighboring plants.
A mature colony can eventually look very settled beneath a tree, but creating that effect takes time.
Solomon’s seal is a plant for gardeners willing to let a good position improve gradually.
The Best Spot, in One Sentence
Choose a cool, dappled, undisturbed position with soil high in organic matter, reliable drainage, protection against hot afternoon sun, and enough room for rhizomes to spread gradually.
Solomon’s seal rewards sensible placement with arching stems, hanging spring bells, handsome foliage, autumn color, and useful tolerance for dry soil after establishment.
Looks may suggest a rather particular woodland perennial.
In practice, Solomon’s seal becomes remarkably dependable once it has found the right place.